Development Environment and Tools
Necessary tools to start writing EVM contracts
Before getting started, you can apply for testnet ONG tokens that will be used for invoking any contracts you deploy over at the faucet here.
The value of gas price for a transaction must be in multiples of 10^9. The minimum value is 2500*10^9.
Development Environment and Tools
EVM smart contracts are written using Solidity. You can reuse existing Ethereum contract frameworks to develop and deploy EVM contracts.
Remix
Remix IDE is an open source development environment for EVM contracts. Remix IDE documentation is here.
We will now go through an example of a Hello World contract development using Remix.
Initialize Remix
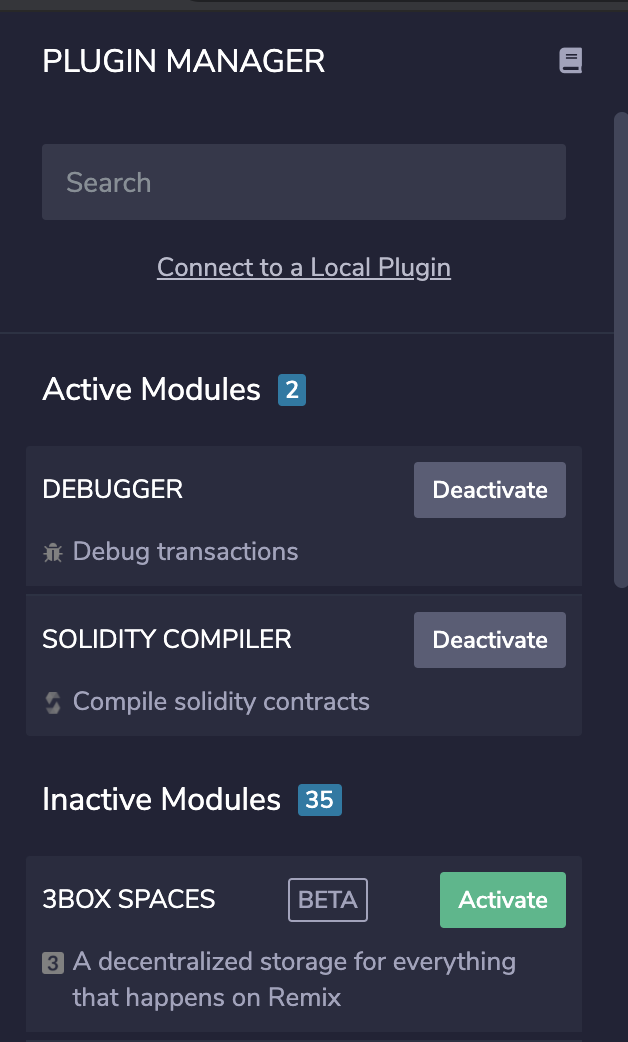
First, locate and activate "Solidity Compiler" and "Deploy and Run Transactions" in PLUGIN MANAGER.
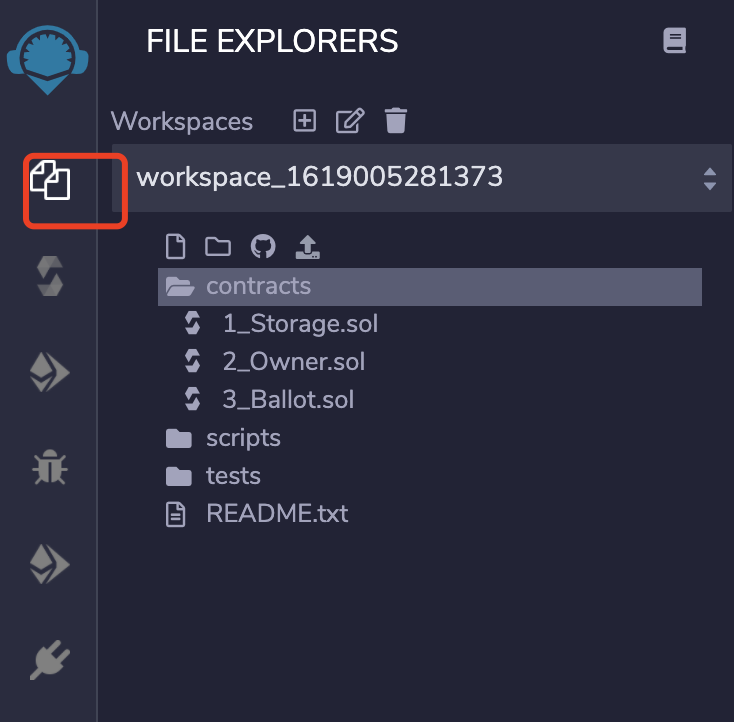
Then, select Solidity environment. Create a new file and name it HelloWorld.sol. Then copy the code of Hello World contract and paste it in the file just created.
Compile Contract
Click on the Solidity Compiler button, select compiler version to 0.5.10 and start compiling HelloWorld.sol
Deploy Contract
The contract is ready to deploy on Ontology after compiling. Here we deploy it on Ontology TestNet.
Note: MetaMask must be configured for Ontology before you deploy the contract.
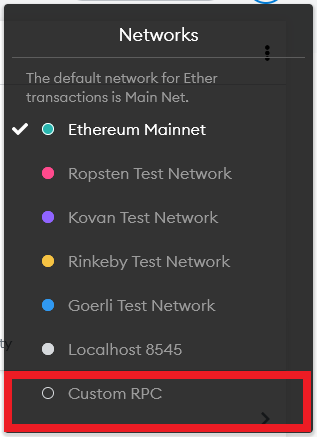
Select "Custom RPC" in MetaMask networks settings. Fill in and save the info below.
Network name: Ontology TestNet
Node URL:
https://polaris1.ont.io:10339orhttps://polaris2.ont.io:10339orhttps://polaris3.ont.io:10339orhttps://polaris4.ont.io:10339Chain ID: 5851
Blockchain Explorer URL: "https://explorer.ont.io/testnet"
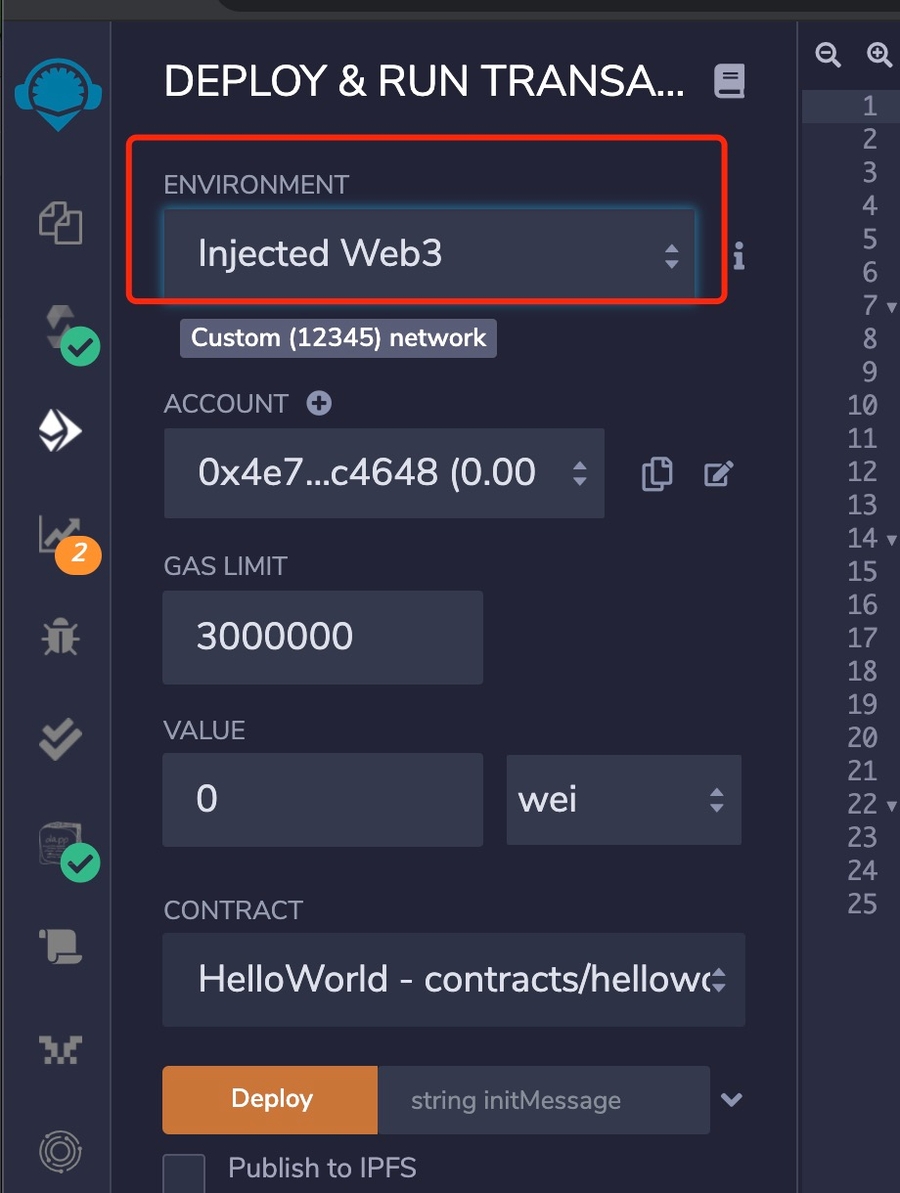
Finally, select "Injected Web3" in Remix. Click "Deploy" to finish.
Invoke Contract
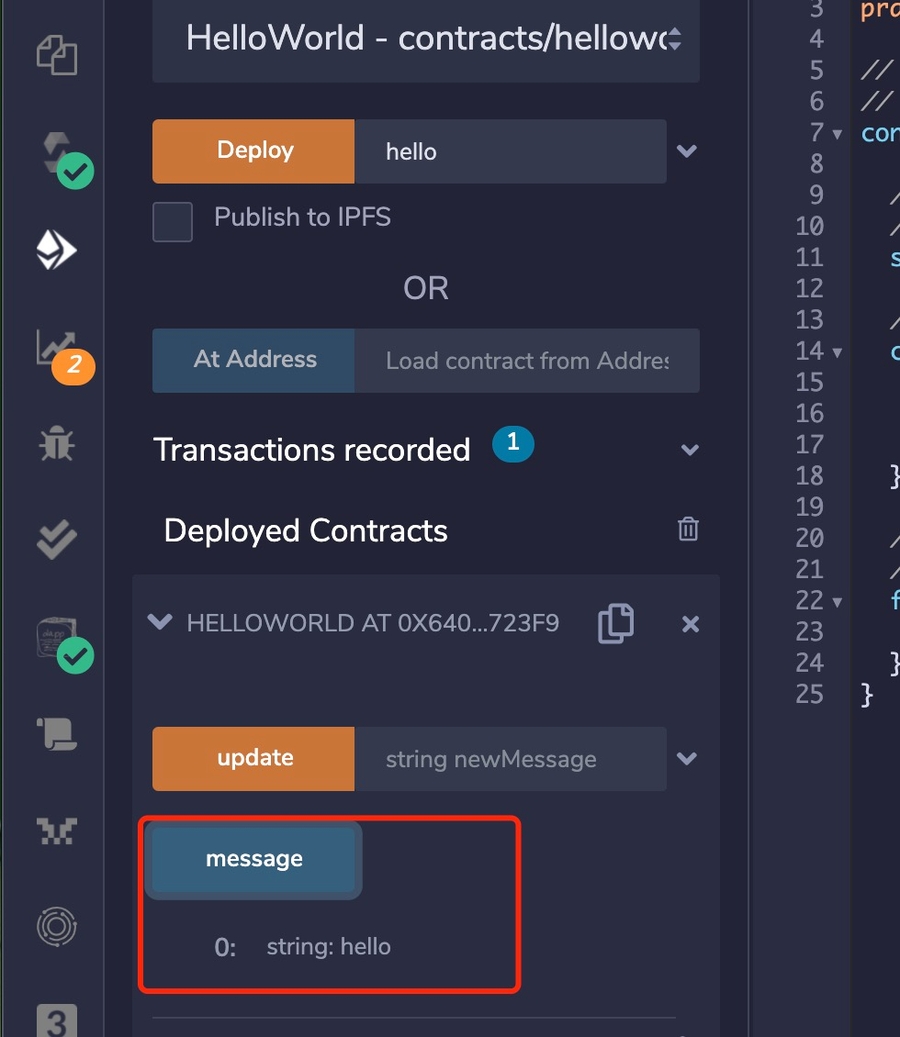
Now you can call the method in this contract. The string hello is saved in the contract when you deploy it, you can call the method message to query this string:
Truffle
Truffle offers tools and frameworks for EVM contract development, testing and management. You can find more details here.
Now we will demonstrate how to use Truffle with this test code.
Install Truffle
First, initialize and install dependencies.
Node.js v8+ LTS and npm (comes with Node)
Then run this command to install Truffle.
Configure truffle-config
Create a new
.secretto store the mnemonic phrase or private key (which can be found in MetaMask).Edit the code of truffle-config as below.
Deploy Contract
Run this command to deploy the contract on the Ontology network.
If successful, you will see the result below.
Note: Avoid using ETH units (e.g. wei, gwei, ether, etc.) when writing test scripts.
Hardhat
Hardhat is an Ethereum development environment. We will use this test code as an example and demonstrate how to use Hardhat.
Install Hardhat
Please refer to Hardhat doc for details on this step.
Configure hardhat-config
Create a new
.secretfile to save your private key.Update the code of hardhat.config.js as shown below:
Deploy Contract
Run this command in root of the project directory to deploy the contract on Ontology Chain:
The result looks like this:
Network Info
Network Types
MainNet
Item
Description
NetworkName
Ontology MainNet
chainId
58
Gas Token
ONG Token
RPC
https://dappnode1.ont.io:10339,
https://dappnode2.ont.io:10339,
https://dappnode3.ont.io:10339,
https://dappnode4.ont.io:10339,
http://dappnode1.ont.io:20339, http://dappnode2.ont.io:20339, http://dappnode3.ont.io:20339, http://dappnode4.ont.io:20339
Block Explorer
TestNet
Item
Description
NetworkName
Ontology TestNet
chainId
5851
Gas Token
ONG Token
RPC
https://polaris1.ont.io:10339 , https://polaris2.ont.io:10339,
https://polaris3.ont.io:10339,
https://polaris4.ont.io:10339
Block Explorer
Ontology EVM contracts consume ONG as gas fee for execution. You can apply for TestNet ONG here.
EVM Assets on Ontology
Name
Address
ONG
0x00000000000000000000000000000000000000000
OEP-4 Assets
Please refer to this link.
Last updated
